Here at Colorado Springs Sawmill we do a whole lot more than just cut trees into usable lumber. We provide the city and residents of Colorado Springs Colorado a wide variety of complete and creative woodworking and metalworking services from the ground up.
So you have a portable band-mill and locally harvested logs…do you know how to build a timber frame signboard? I just smiled and said, ‘how many city parks and open spaces do we have here in Colorado Springs?’ ~Mitchell Dillman

From design through final finish and installation, here at Colorado Springs Sawmill we work with you to harvest locally, kiln dry, then artfully hand-craft everything from fine furniture and modern-rustic decor, to full scale timber frame construction.
Please enjoy the next several minutes while you learn How-To Build A Timber Frame Signboard from our latest project at Blodgett Peak Open Space, located on the northwest side of Colorado Springs, Colorado.
Special thanks to City of Colorado Springs Parks, Recreation and Cultural Services for helping find creative uses for our locally harvested Wildfire Wood.
We hope you find these short videos and still images both informative and entertaining.
Watch Blodgett Peak Signboard Final Preparation
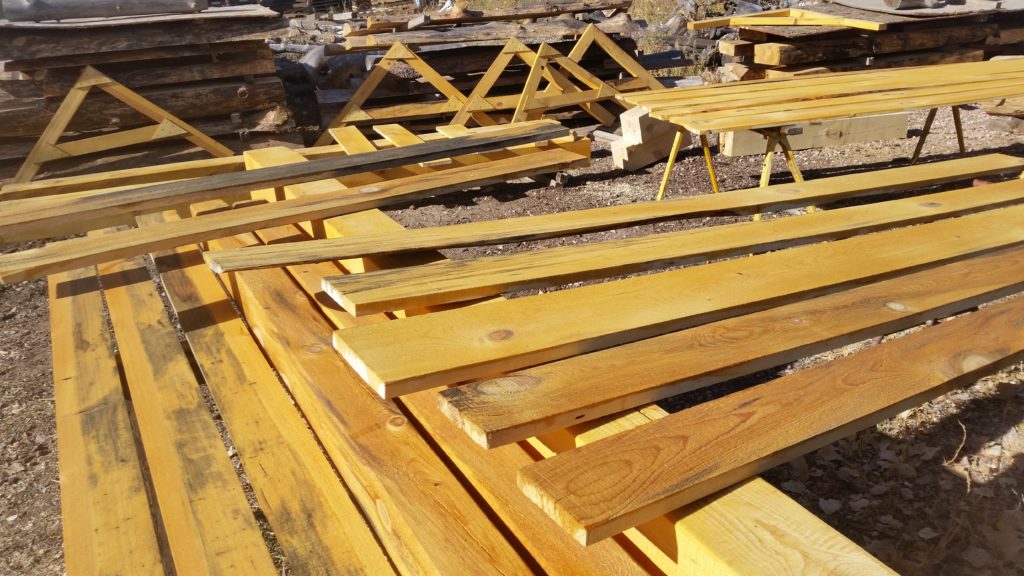
The new Blodgett Peak Signboard is constructed using lumber we milled from old growth Ponderosa Pine trees, harvested directly from the 2013 Black Forest Fire.
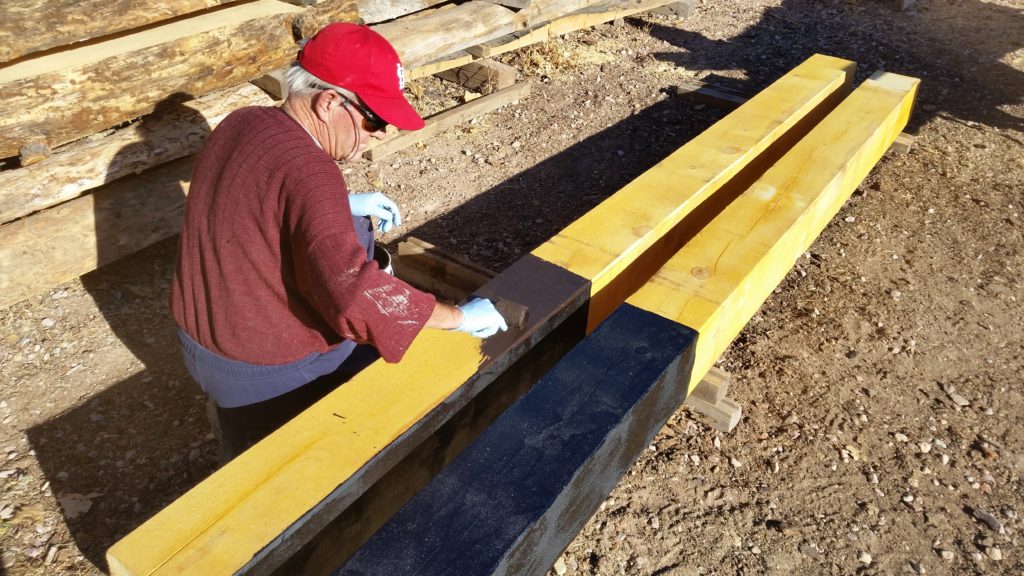
As seen in the video above, we are pre-sealing all of the kiln-dried pinewood using Super Deck brand wood stain and sealer, prior to on-site construction of the new signboard.
Watch How-to Set A Post – 8 x 8 Timber Frame
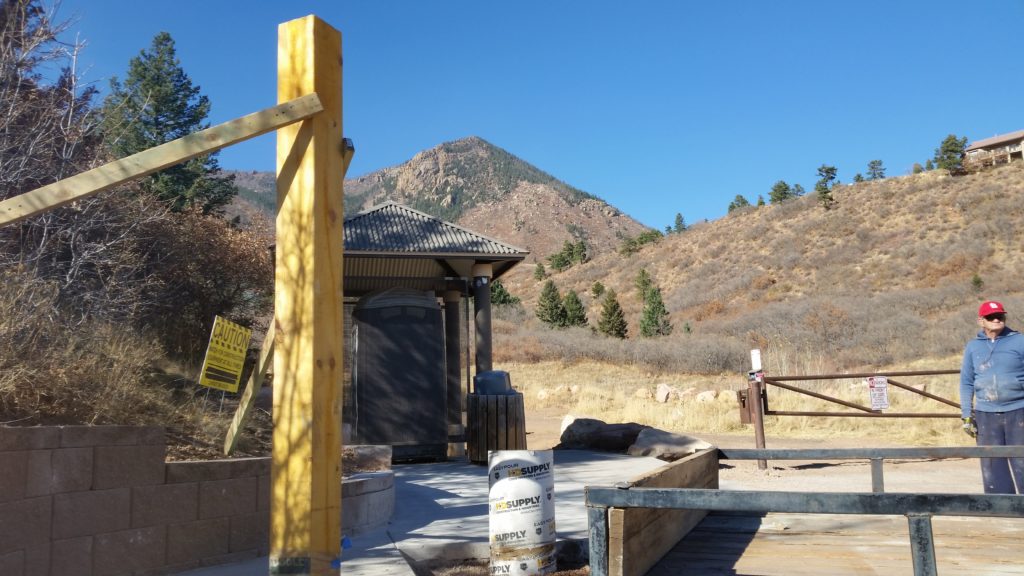
Day one of our timber frame signboard installation is about as easy as it gets. Grab your level, a couple of lateral braces and some concrete, then set a post. It’s just as easy as that.
Watch How-To Build a Timber Frame Signboard Day 1
Once the first 8″ x 8″ timber post has been poured in concrete and had plenty of time to set-up, it’s time to get to work and complete the framing process. This begins by setting the second post in its’ hole and adding the horizontal timbers.
As you see in the video above, once the horizontal 4″ x 6″ timbers have been temporarily fitted between the two vertical posts, we use a self-ratcheting tie-down strap to hold everything in place prior to pouring concrete in the second post hole. This simple building technique assures the entire structure is squared, plumbed and leveled directly off of the first 8 x 8 post.
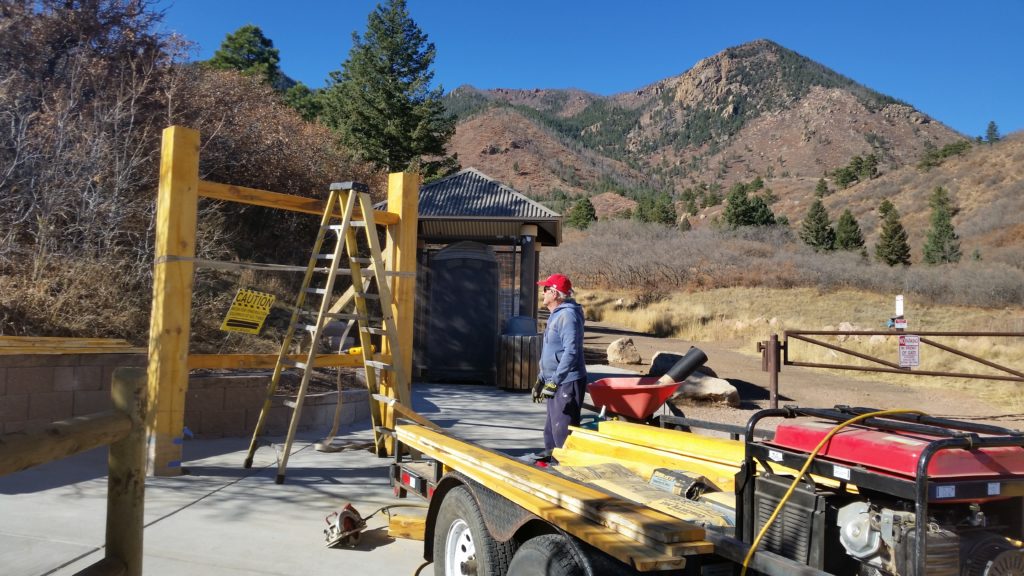
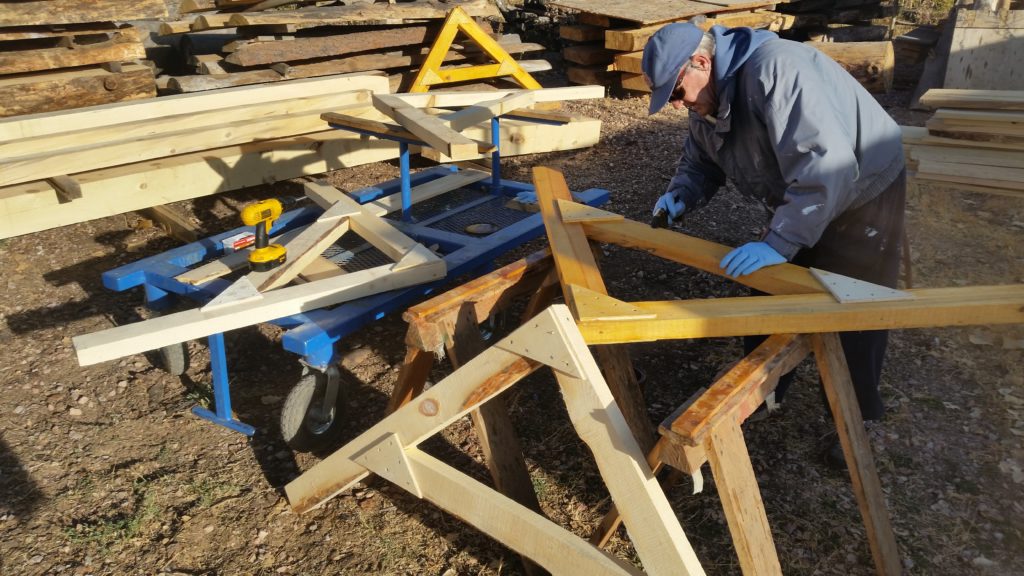
Now Watch How-To Build a Timber Frame Signboard – Roof Day
As you see in the video above, Day 2 of our Timber Frame Signboard construction begins by ‘laying out’ the main horizontal beam and upright posts to be pre-drilled, or tapped, for the 1/2″ x 14″ lag bolts. Pre-drilling not only assures a tight fit, it alleviates any chance of splitting the horizontal timbers when installing your lag bolts.
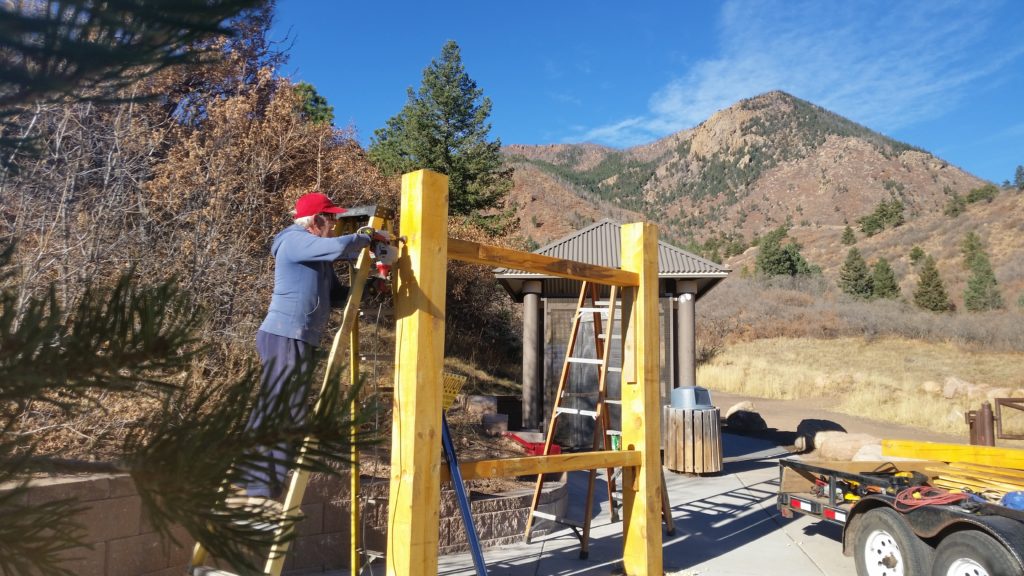
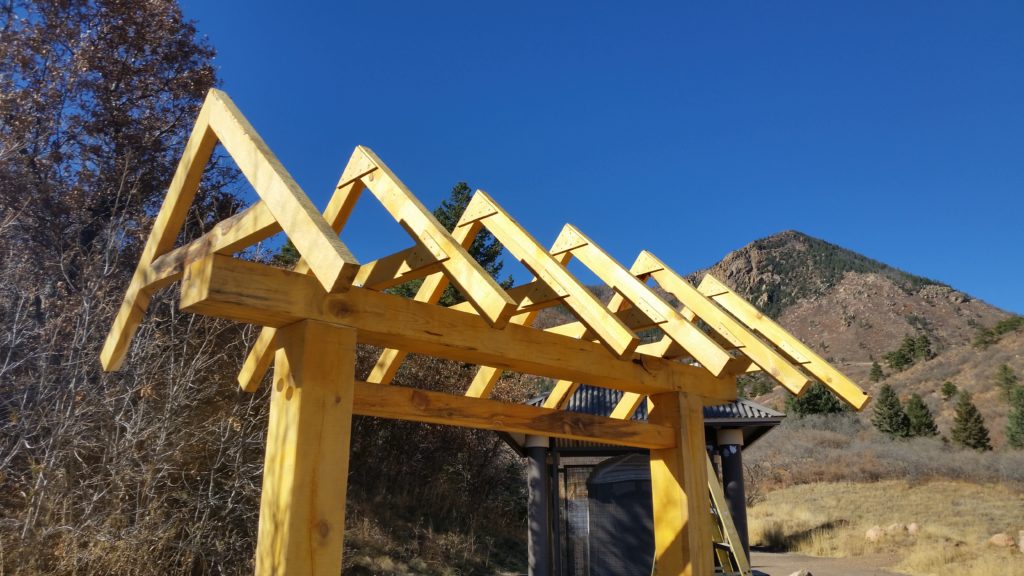
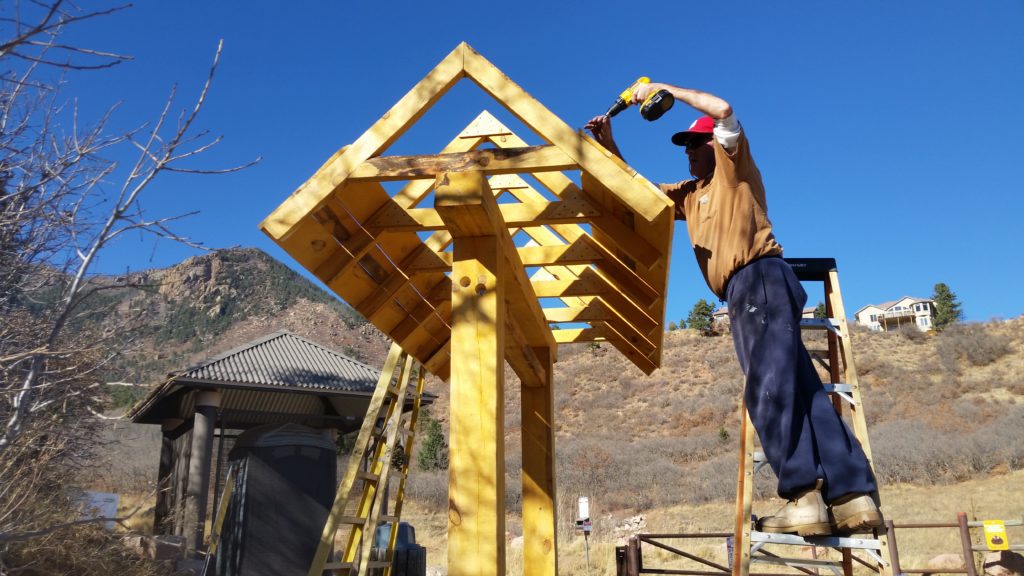
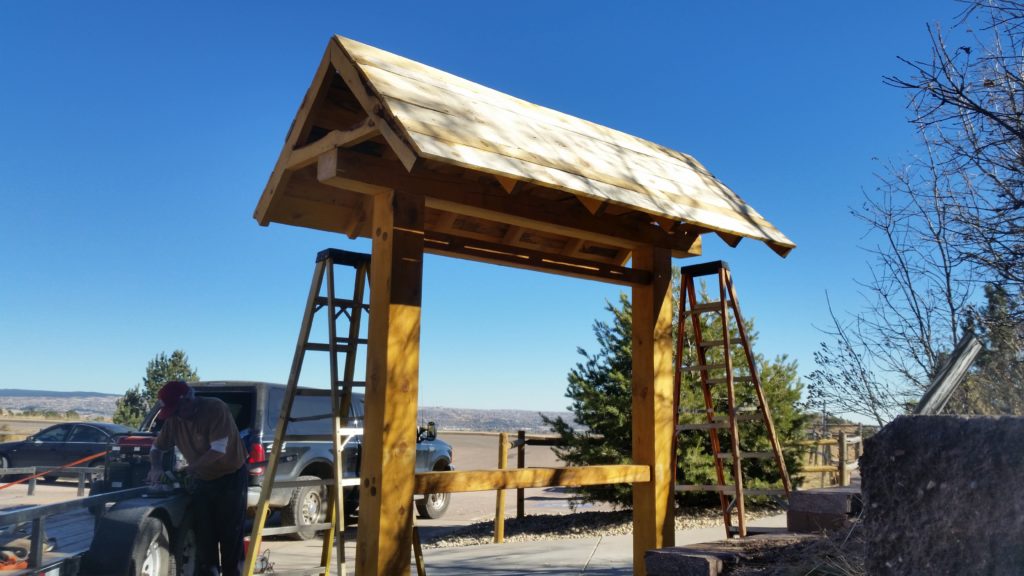
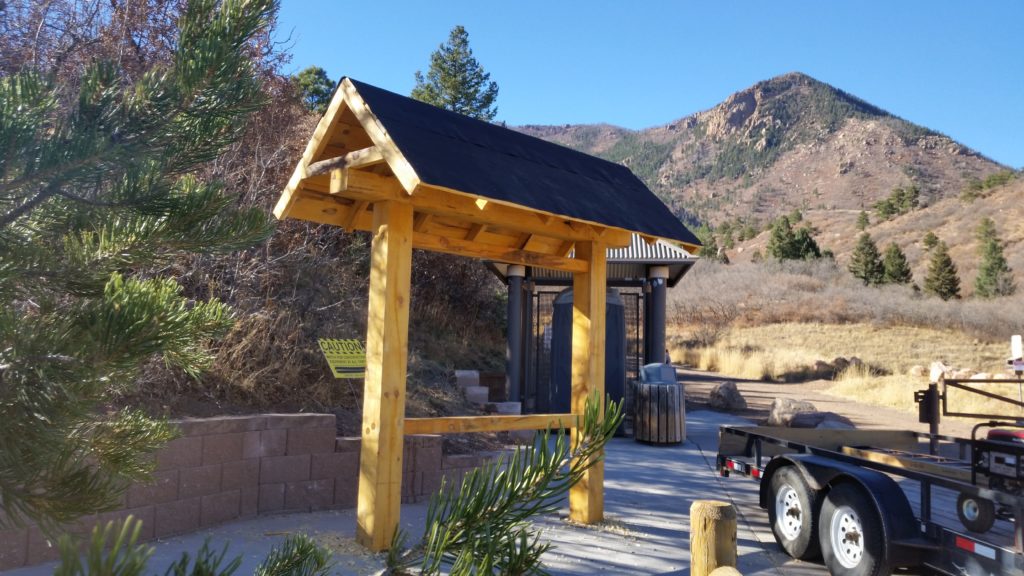
Now come back tomorrow to watch How-To Weld A Signboard Screen – Blodgett Peak Signboard Build and we’ll finish this project up with the metal roof in another week or so. More images coming soon!


[…] purposes. Their popularity has grown in recent years do to a resurgence in local milling and “full-circle” woodworking projects like this one. Special thanks to the City of Colorado Springs Department of Parks, Recreation and Cultural […]